Welcome to #TheGreatBuild, a series dedicated to starting an ecommerce business from scratch. In this series, the founder of A Better Lemonade Stand, Richard Lazazzera, shares the lessons he learns and the strategies he tries as he builds his own ecommerce business from the ground up. This series has been created with the intention of showing other new entrepreneurs what it takes to start an ecommerce business so it will hopefully inspire them to start their own online business, too.
To read all the blog posts included in this series, navigate using the Table of Contents down below.
Table of Contents
- #TheGreatBuild: Choosing a Niche & Product to Sell Online
- #TheGreatBuild: Product & Niche Evaluation
- #TheGreatBuild: The Great Reveal of My Product & Niche Selection
- #TheGreatBuild: Make, Manufacture, Wholesale or Drop Ship
- #TheGreatBuild: Negotiating with a Manufacturer
- #TheGreatBuild: Choosing a Shopping Cart
- #TheGreatBuild: Pivoting
- #TheGreatBuild: How to Build a Brand Persona
- #TheGreatBuild: Unveiling My Brand
- #TheGreatBuild: DIY Product Photography
- #TheGreatBuild: How to Launch a Business
- #TheGreatBuild: First Month Revenue & Marketing Report
- #TheGreatBuild: Behind the Scenes of a 6-Month-Old Ecommerce Business
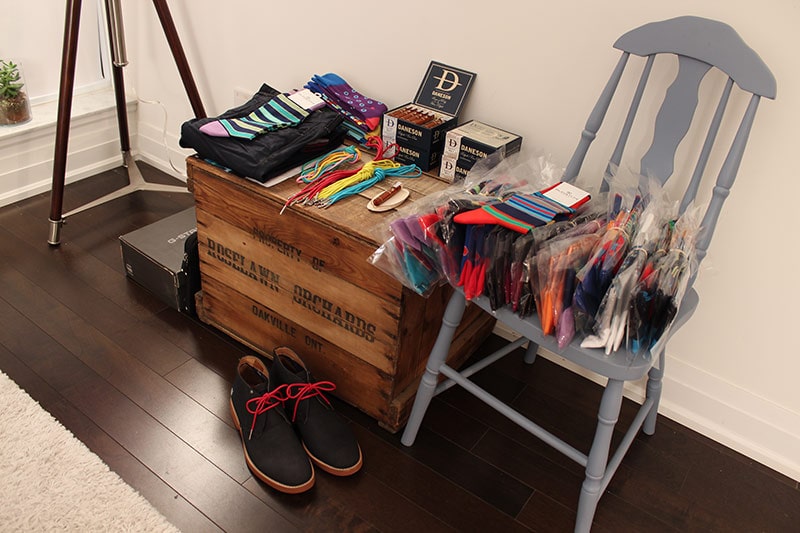
As you might remember, when I attempted to order inventory for #TheGreatBuild project (Finch Goods Co.) in the middle of December, I found out I was basically right in between seasons for a few of the brands I intended to start with. I didn’t want to start my new business with last year’s styles and colors for obvious reasons, so I was forced to wait. After what felt like an uncertain eternity, some of my inventory has arrived. This has allowed me to start moving forward by getting photography done and building out my product listings on my website.

High-quality product photography is one of the most important design aspects of any ecommerce website. Your images need to provide your visitors with an experience as close to “real life” as possible. Depending on your budget, there are a few photography options available for ecommerce entrepreneurs.
- High Budget: If you have a high budget (a few thousand dollars), obviously hiring a qualified photographer with a studio, lighting and high-end lenses is ideal. They will not only take the photographs but also do the editing to ensure they come out looking their best with the most accurate colors. Photographers can be found with a simple search on Craigslist or Google. Another great option is to check out the partner’s program with Shopify.
- Medium Budget: If you have a budget of just a few hundred dollars, you might be able to find a friend (semi-professional photographer) or a photography student that can help you. There are also a few online services that can help. If you send your products to ProductPhoto.com, they will take isolated, high-quality photographs of your items for around $12 per item.
- Low Budget: If your budget is very limited, or if you are like me and trying to be as lean as possible, not to worry. You still have the option to take great DIY product photography yourself. With a decent DSLR camera, some lighting, a DIY product photography light tent, and some basic image editing skills in Photoshop or similar programs, you can have high-quality product photography that is almost indistinguishable from what a professional studio would shoot. I wanted to note that although a DSLR camera is definitely the ideal, cameras on high-end smartphones can still take phenomenal photos if you have enough lighting.
DIY Product Photography
I opted to save myself a boatload of cash and I am doing my own photography. I decided this for several reasons:
- To be lean
- To easily be able to add additional products and not be at the mercy of a photographer or photography service
- I had the equipment/knowledge to do my own photography
- DIY product photography is a lot more fun
DIY Product Photography Equipment
 Here is the list of equipment I used for #TheGreatBuild product photography:
- $10 – 4 pack of 100-watt bulbs
- $20 – HEMMA Lightbulb Cord x 4 from Ikea
- $1 – White tissue paper from any dollar store
- $1 – Posterboard from any dollar store
I already owned my DSLR digital camera so my total cost was only $32. If you don’t already own a DSLR, you can borrow a friend’s, buy one or rent one. Even if you have to buy one for $600, depending on how many products you have to photograph, it will likely still be way cheaper than any 3rd party photographer or photography service, and you have an asset you can use for other projects, hobbies, etc.
My DIY Light Tent Setup
I mentioned a light tent above, the technical definition of a light tent (or sometimes called a “lightbox”) is:
A studio accessory comprising of an enclosed square with translucent sides to allow light to pass through and diffuse through the material. Its main use is in product photography to eliminate hard shadows and ensure even exposure of the entire product.
Basically, it’s just a box that allows light in to brighten up the subject (which is the product) evenly, without harsh brights and shadows.

You can easily create your own DIY product photography light tent using a large box (big enough to comfortably fit your object), some tissue paper to diffuse the lights and some lighting. For more information on how to create your own simple light tent, check out this post.
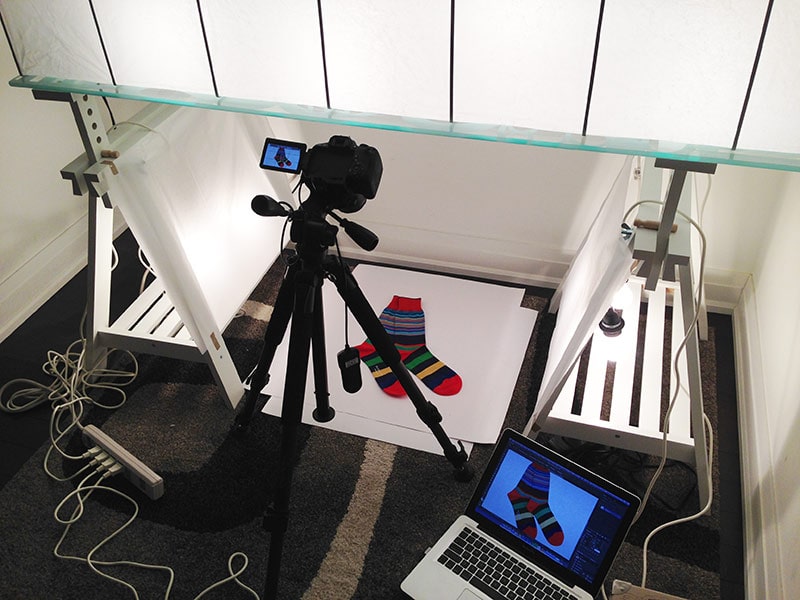
I could have used a large box to create my light tent, but my desk caught my eye. I thought it might give me a bit more room to work and I wouldn’t have to store a big light box in my home (for future photography). As you can see from the image below, I just draped the four light bulbs over the edge of the desk stands and then covered the area with white tissue paper to diffuse the harsh light from the bulbs and create a softer lighting situation.

Below is my first test shot. I opened it in Adobe Photoshop and found it was too dark because of my camera settings. This could easily be corrected at the camera level but I decided to go with it since I was confident I could correct this in Photoshop. Besides the brightness of the image, the tone was also off.

First I decided to fix the tone of the image — it was too orange. Before doing anything complicated to fix the tone, I tried Photoshop’s Auto Tone (Photoshop Menu – Image – Auto Tone). It worked wonders. It brought all the colors to a much more accurate range.

As I mentioned before, the image was a little dark so I increased the brightness (Photoshop Menu – Image – Adjustments – Brightness/Contrast). I nudged the brightness up a bit until I was comfortable with the results.

Now it was time to isolate the socks and remove them from the background (off-white). Because there was such a stark contrast between the colors of the sock and the off-white background, the Magic Wand tool on Photoshop had no problem selecting the sock. I copied the sock selection and pasted it into a new document with a pure white background. Below is the final result:

Other DIY Product Photography
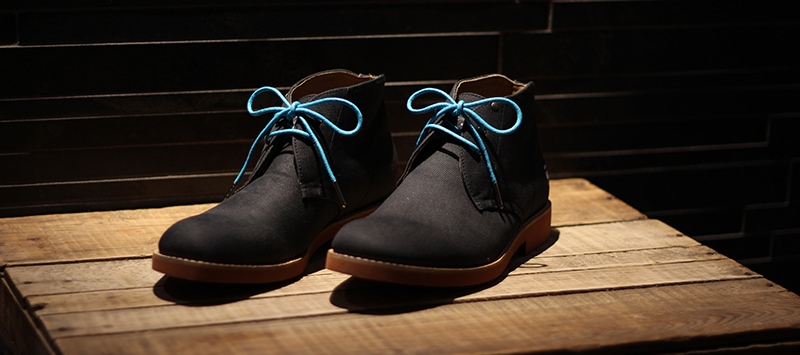
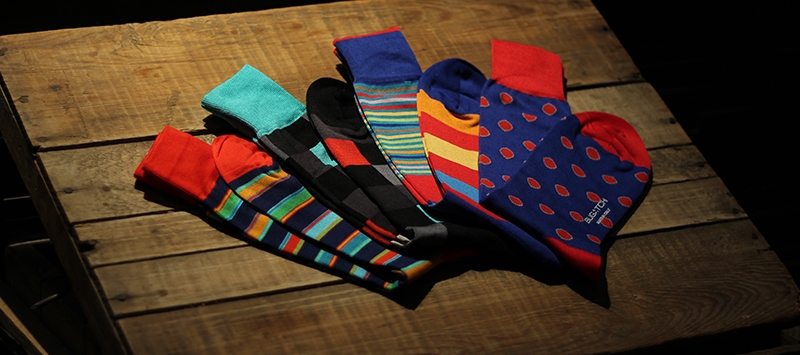
I also decided to take a few more stylistic shot of my inventory. These shots will be used for banner ads/announcements etc.

Next Steps
I have most of the Photography done for my current inventory. I’m still waiting for more inventory from a few other brands though before I launch.
In the meantime, I am working to get my current products listed on my site and finishing the design of my Shopify store. I am also going to spend a bit of time thinking about my launch. I haven’t decided yet if I want to do a big push right away or spend some time in beta (so to speak) to make sure things like packaging, presentation, and shipping are the best they can be before doing a push.


