Starting an online store can be tricky, especially if it’s your first time doing it. There are so many different pieces of the puzzle to put together and if you’re totally new to the ecommerce world it can be overwhelming to jump straight in and figure it out for yourself. This article will show you how to set up an online store by discussing the most essential and less talked about steps every new online store needs to go through to get it started on the right foot. All of the steps mentioned in this article are crucial for every online store set up and will act as the strong foundation upon which the rest of the store can be built. Ready to set up your online store and get it right the first time? Keep reading.
Table of Contents
- Step #1: Set Up or Transfer Your Domain
- Step #2: Set Up Your DNS
- Step #3: Set Up Your Business Email
- Step #4: Set Up Your Email Marketing & Transactional Emails
- Step #5: Set Up Gravatar
- Step #6: Set Up Your SSL Certificate
- Step #7: Set Up Your Google Analytics Property
- Step #8: Set Up Google Search Console & Bing Webmaster Tools
- Step #9: Set Up Your Uptime Monitoring
- Step #10: Set Up Your Customer Service Support Inbox
- Step #11: Set Up Your Bookkeeping Process
- Step #12: Set Up 2-Factor Authentication
- Step #13: Set Up Automated Store Backups
- Step #14: Set Up a Security Firewall
How to Set Up an Online Store Step #1: Set Up or Transfer Your Domain
First things first, a domain is obviously essential for any online store. A domain is essentially an online store’s address (for example, ours is “abetterlemonadestand.com”) and without having an address for your online store how can you expect anyone to find you? Not only is having a domain important but having a domain from the right provider is just as important. There are many different domain providers to choose from, but not all of them are optimal to work with.
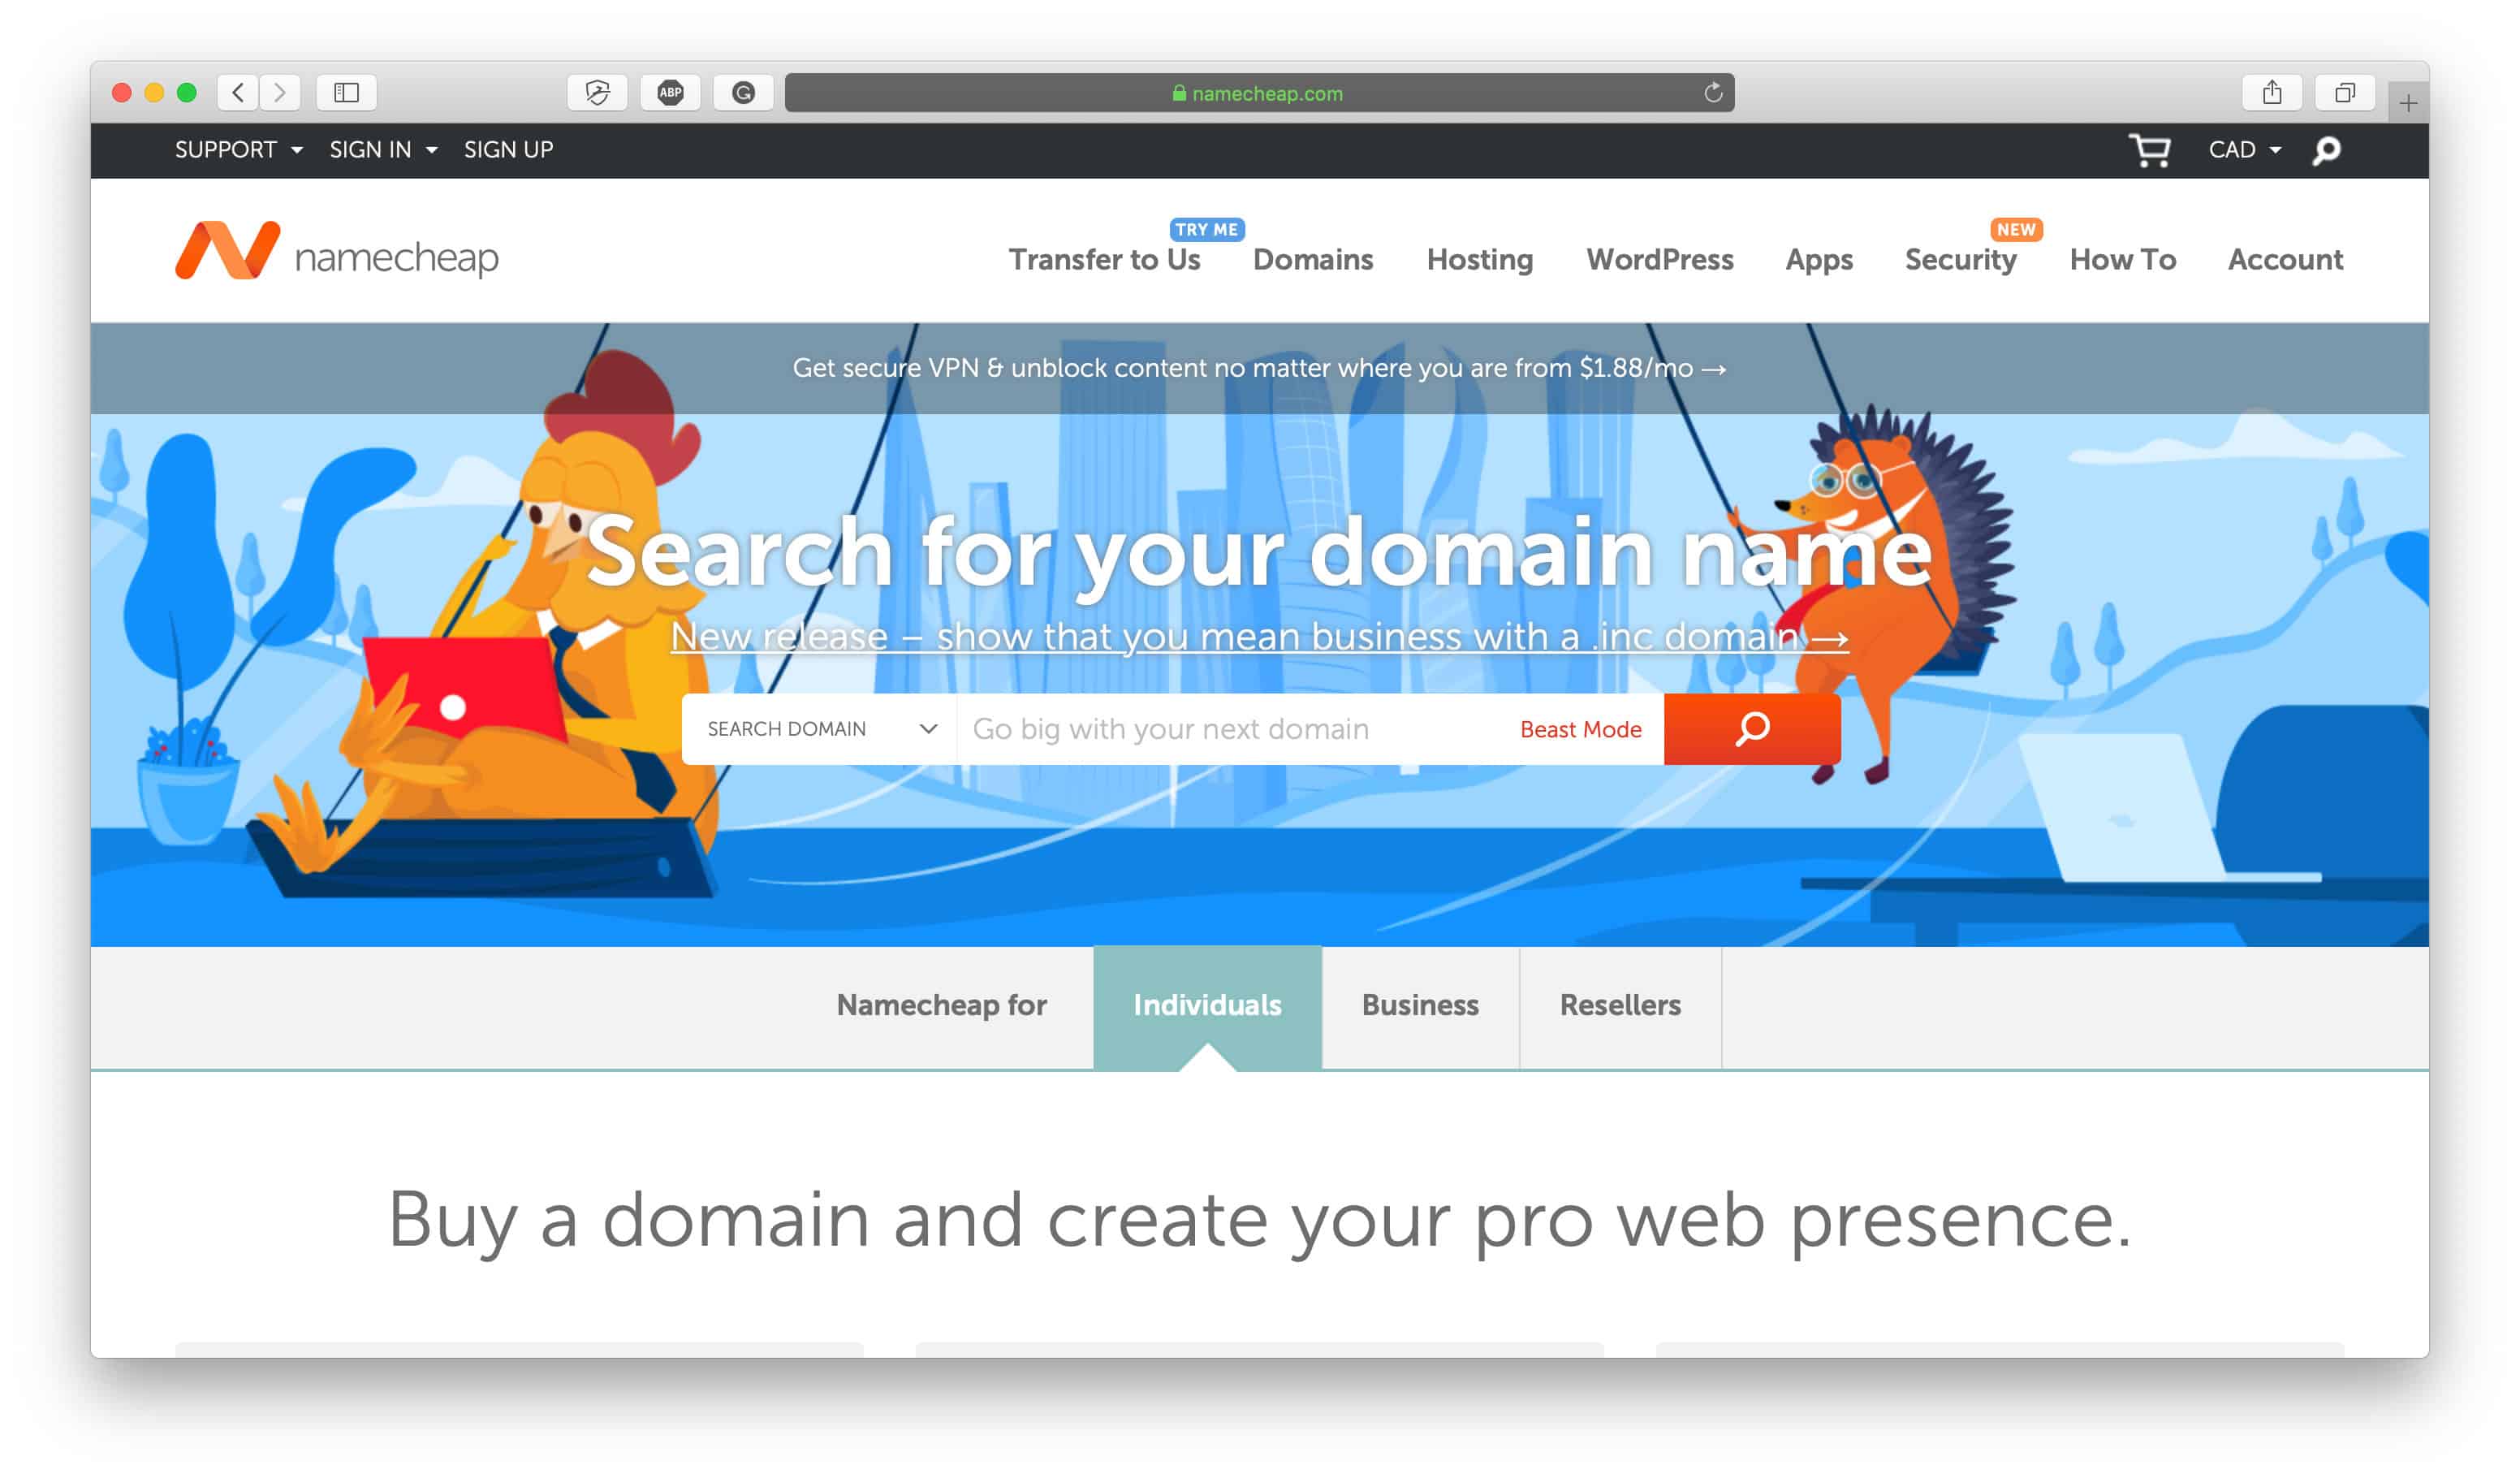
If you haven’t already, you need to register your online store’s domain. Head over to a domain provider like Namecheap or Hover to register a domain for yourself. We recommend using Namecheap or Hover as your domain hosts because there’s less of an emphasis on upselling you to add-ons you don’t necessarily need and more of an emphasis on providing genuine services to help you find and manage the domains you’re looking for.
We’ve sourced domains from Namecheap for many years and they continually improve their service year after year to optimize it for their customers and Hover is a Canadian company that provides outstanding customer service along with providing great domain registration options. We discussed more about why we use Namecheap and Hover in our From This to That: 15 Popular Apps We Left for Greener Pastures article so check that out to learn a little more.
If you purchased a domain from someone else, however, you’ll want to transfer it over to your own domain host. The provider you set up an account with should have documentation to walk you through the process if you need help, otherwise it’s worth reaching out to their customer service team.
If you’re new to the whole domain registration thing and don’t really know how it works, it’s fairly simple:
- Step 1—Find the Right Domain Host: They’re the provider you’ll purchase the domain through and usually, you have the option to purchase your preferred domain either for one, two, three, or even ten years at a time. Usually you’ll be able to select the option to automatically renew your domain when the time period runs out which we highly recommend because it just means you’ll always be the owner of it and won’t have to worry about someone scooping it up before you when your lease on the domain expires (this definitely does happen and it can be a costly ordeal to get your domain back).
- Step 2—Purchase Your Domain: Once you find the domain you’re interested in purchasing, go right ahead and purchase it. Domains can be purchased quickly by other interested buyers so we recommend that if you find a domain you like that you snap it up. You can always decide not to use a domain that you impulse purchased but you can never go back in time and buy a domain that was once available. We also recommend purchasing more than one domain if yours includes words that have alternate spellings like color/colour, jewelry/jewellery or flavor/flavour, for example. You may only want to use one of the domains to start with but if you plan to grow your store in the future it’s best practice to hang on to those synonymous domains just in case. We also recommend sticking with .com domains where possible just because it’s the most widely recognized domain extension, however, other country-specific domain extensions like .ca, .co.uk, and .com.au are also commonly used and widely recognized.
- Step 3—Opt-In for WhoIs Protection: When you register your domain through a host you have to include an address just in case you ever need to be contacted about your website, your domain, or anything associated with those two things. Most businesses should use their business address as the address associated with their domain, however, if you don’t have a business address and/or your business address is your home address, then you may not necessarily want that to be public knowledge. Opting-in to WhoIs protection withholds your address from being public knowledge and instead, people or businesses will have to contact your WhoIs provider first to get in touch with you which just adds an extra layer of security. It’s pretty standard practice for most people registering domains to always include WhoIs protection. It used to be an additional cost but some domain hosts — like Namecheap, for example — now provide it as standard practice. It’s important to note, however, that certain domain extensions are restricted from having WhoIs protection which is another reason why sticking to the .com extension is so preferable.
You can’t do virtually anything for your online store until you have a domain, so get it set up as soon as possible if you haven’t already and then you can move on to the next steps.
How to Set Up an Online Store Step #2: Set Up Your DNS
Part of your website’s infrastructure is the Domain Name Systems (DNS) which essentially act as the phonebook of the internet to connect internet browsers with internet resources like websites. When you set up your website, you’ll typically have a generic DNS assigned to you but most generic DNS are pretty slow by the internet world’s standards. By slow, we’re talking milliseconds here, but in the online world where every second counts, milliseconds can be the very thing that costs you valuable customers, revenue, and profit in the long run.
Take Amazon, for example: They found that every 100ms of latency cost them 1% in sales, so load time is a super important metric to get right and your DNS is a contributing factor to your site’s load time. Your site’s load time is one of the first things your visitors notice and it can also be one of the first things that makes them want to click away from your site if it’s not fast enough.
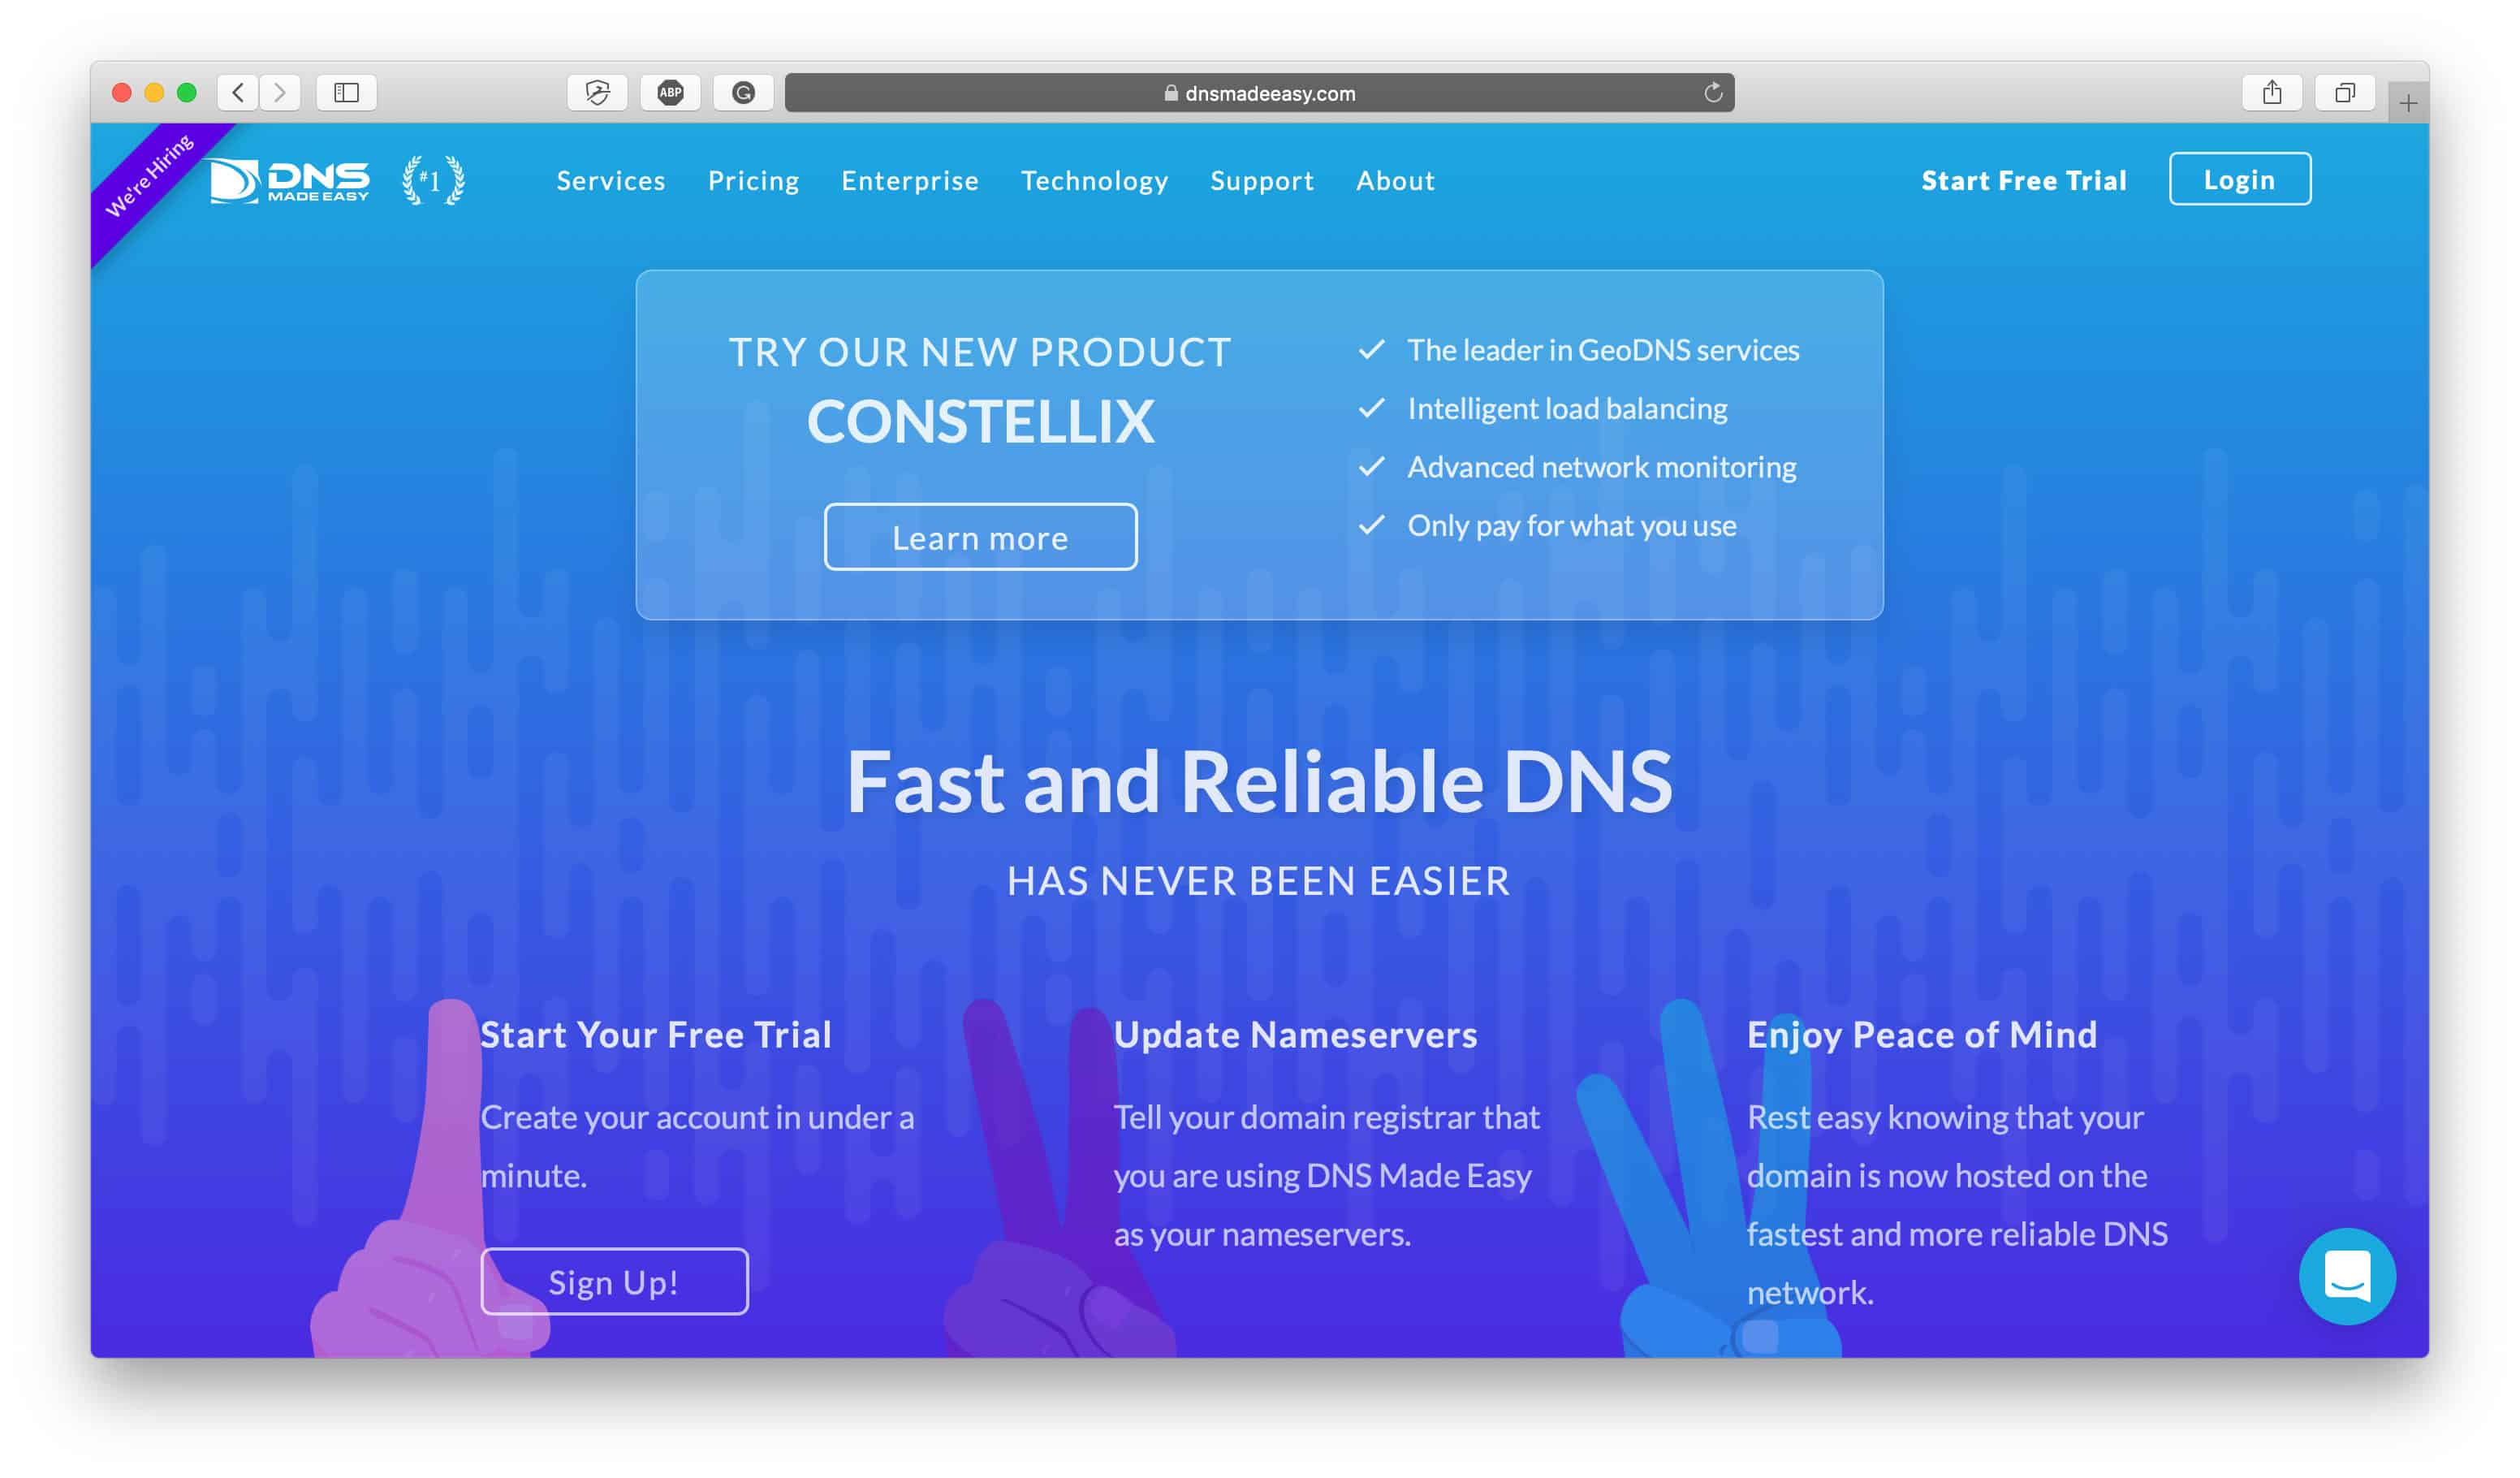
Because of this, we recommend using a more premium DNS than a generic one, and even the more premium ones aren’t necessarily that expensive. DNS Made Easy is the DNS service we recommend setting up on your site because it’s one of the best and it starts at $30/year. Considering your DNS is one of the foundational aspects of your store’s infrastructure, that’s a small price to pay for a reliable and fast connection! Check out this DNS Made Easy Review to learn more about the specifics of their service and why a good DNS is better for your website.
You might not choose to upgrade your DNS when you’re first starting out as it might not be a priority for you yet, but performance-wise it adds a lot of value to the way that your audience accesses and interacts with your online store so consider it as something to implement later as your traffic and store grows.
How to Set Up an Online Store Step #3: Set Up Your Business Email
Now that you have your domain set up, you can set up your business email addresses so your visitors and customers have some way to contact you. Email is one of the first things you should set up for your online store because it makes you seem approachable and polished and it’ll keep you organized.
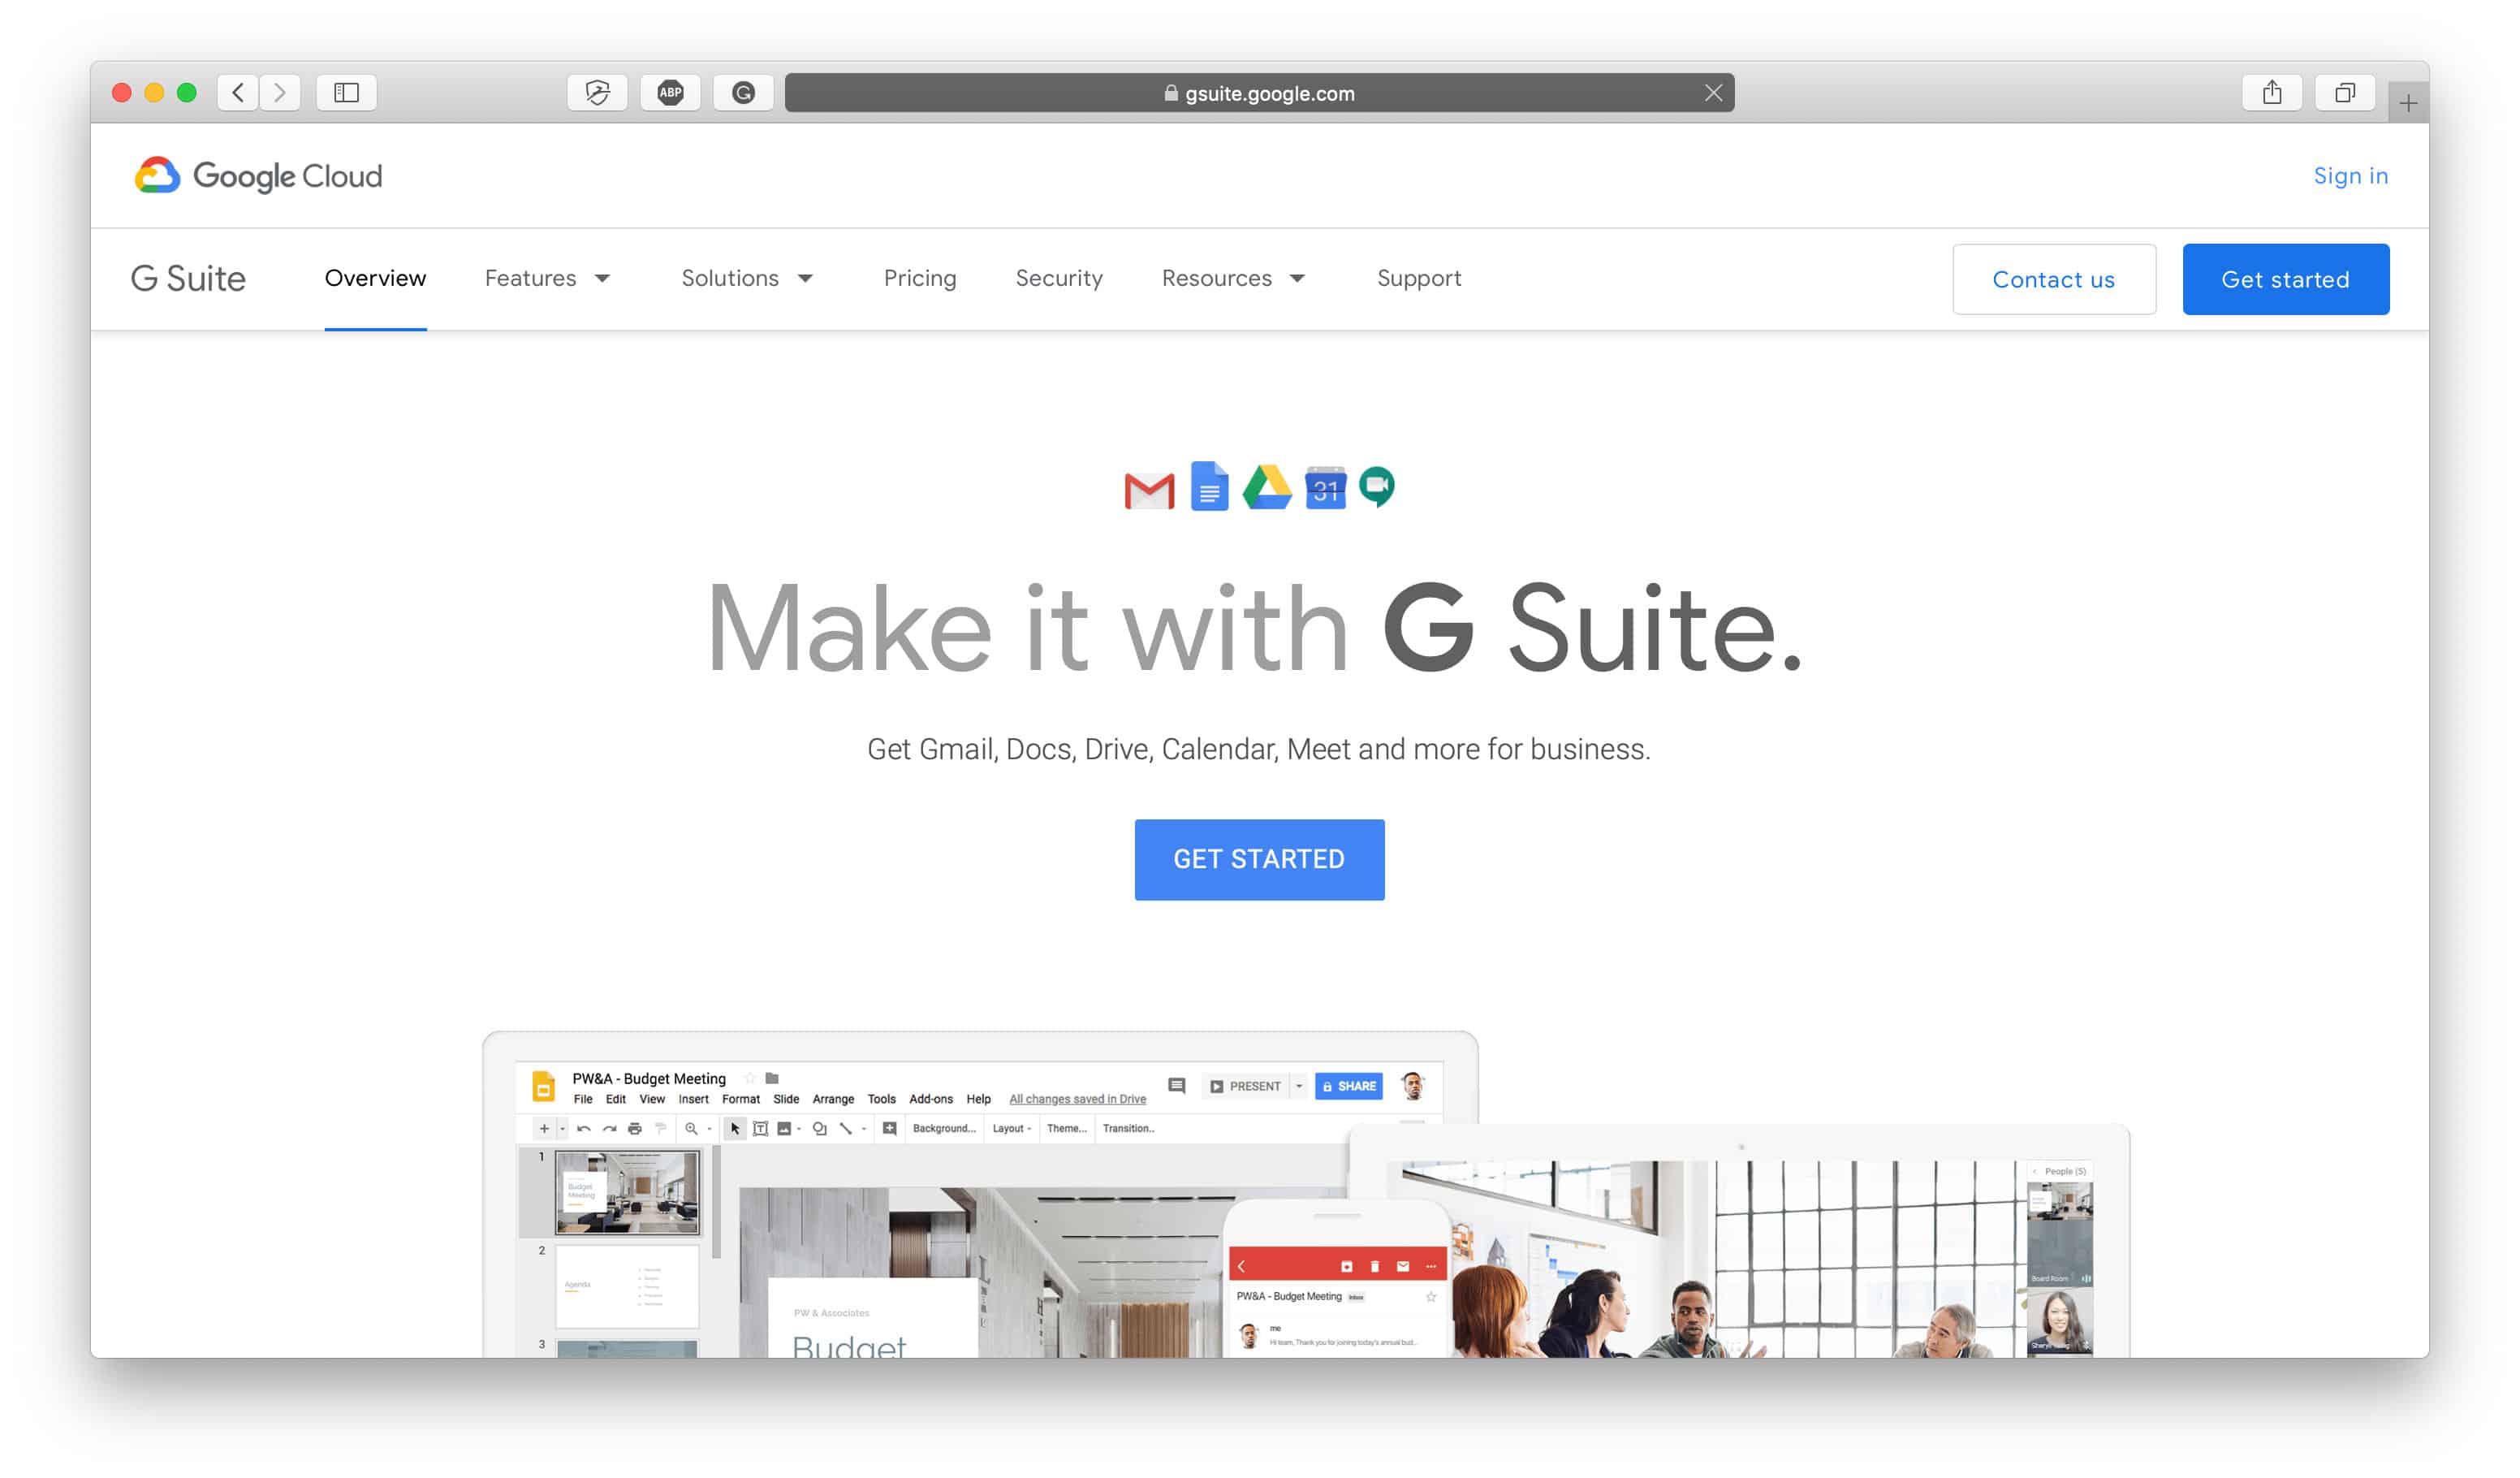
G Suite is one of the most commonly used business email providers as they’re basically a paid version of Gmail, which most people are familiar with already. G Suite allows you to create email addresses like firstname@yourdomain.com, info@yourdomain.com, or accounting@yourdomain.com and it even offers other tools that can help you manage or connect your team if you work with others. An alternative to G Suite is Fastmail, which is our business email provider of choice. Even if you do set up your business email with a service other than G Suite you should still, however, set up a Google account for your business in general because you’ll eventually need it to set up Google Analytics for your store, which is standard practice and a step we cover later in this article.
Sign up to the business email provider you prefer and get your customer-facing emails ready. You can create as many or as few as you like, depending on how you want to organize your inbox and whether you have specific members of your team you want the emails to be directed to. Here are some examples you can choose from:
- hello@yourdomain.com: A friendly customer support email
- info@yourdomain.com: A great all-rounder
- accounting@yourdomain.com: Perfect to direct mail to your accounting and bookkeeping inbox
- yourname@yourdomain.com: The best option to direct emails right to you
- teammember@yourdomain.com: Set up specific email addresses for team members your customers might want to contact
- shipping@yourdomain.com: Use this email address to create a dedicated inbox for shipping-related customer queries
It really is up to you how many and what kind of email addresses you want to use, so choose whatever works for you.
In addition to setting up your customer-facing emails, there are a few other business email best practices you should take into consideration when getting started:
- Configure MK Records: Without getting too technical, mail exchange records (otherwise known as MX records) are an essential aspect of email deliverability and they help emails get routed to the right inbox.
- Configure SPF Validation: Sender Policy Frameworks (SPF) identify who is allowed to send emails on behalf of your domain, which essentially prevents other people from spoofing your email address.
- Configure DKIM Signing: This is a security measure that attaches a digital signature to outgoing emails to again, prevent others from spoofing your email address.
These three things can be set up through your email hosting provider, which if you’re using G Suite you can learn more about setting up here.
How to Set Up an Online Store Step #4: Set Up Your Email Marketing & Transactional Emails
Next, in terms of setting up your online store, comes your email marketing and transactional emails. Email is one of the most important points of communication you’ll have with your audience and customers so it’s important to get it right.
Capturing visitor emails as they land on your website will integrate them into your sales funnel so you can hopefully turn them into customers and you’ll need the right email marketing set up in order to make that happen. Transactional emails, on the other hand, are routine communications you’ll have between you and your customers that include order receipts, account confirmation emails, as well as password reset emails.
If you’re using a hosted ecommerce platform like Shopify or BigCommerce, they’ll likely already offer basic transactional email templates you can send to your customers. While these aren’t necessarily a bad option, they’re just usually the bare minimum in terms of what transactional emails can accomplish so if you’re looking for something more sophisticated or something that can help you turn your transactional emails into something more than just the bare minimum, you’ll likely want to outsource this task to a service that specializes in creating and sending transactional emails.
When it comes to email marketing, it’s very important that you use an email marketing provider to help you build an email list so you can maintain direct contact with your audience in a way that you have control over. The other ways that you can contact your audience such as through social media platforms like Facebook, Instagram, and Twitter you don’t actually have full control over; they could be shut down at any time or your account could be banned without notice. Eliminate the risk of ever losing contact with your audience by building an email list with a reputable email marketing provider.
The top email marketing and transactional email providers in the industry right now are:
- Klaviyo: One of the top-performing email marketing providers in the industry, Klaviyo offers powerful features and outstanding templates. They’re deeply integrated with Shopify so they’re an ideal option for Shopify merchants but they also integrate with BigCommerce and WooCommerce as well.
- CM Commerce: Create personalized and targeted email marketing campaigns to boost your conversions with CM Commerce. Optimized to help you increase your sales, this is an ideal option for merchants looking for pre-built campaigns they can update, automate, and then profit from.
For a more in-depth roundup of how these email service providers compare, check out our article here.
How to Set Up an Online Store Step #5: Set Up Gravatar
Globally Recognized Avatar (Gravatar) is an image that’s tied to you and your email address which appears beside your name across the web every time you comment on a blog, a forum, Slack, email, or even post an article yourself. In other words, your Gravatar is a small headshot associated with your email address which provides you with a unified and recognizable visual identity across the internet.
If you haven’t set up a Gravatar, a default image will appear as the headshot near your comment or post which isn’t very personal or trustworthy. If you set one up for your business, it will make your business look more professional and legitimate and can even save you time from having to manually upload your information every time you’re mentioned online.
It’s super easy to set up your Gravatar too, just head over to the Gravatar website, create an account, choose the image you want to be associated with each email address (you can add an unlimited amount of email addresses to your Gravatar account) and then fill in your details. You can add all of your business’ email addresses, choose any type of image you want whether you want a professional headshot, your brand logo or something else, and you can include links back to your store, website or social media in your Gravatar description.
Along the same lines, you should also add your profile photo to your G Suite profile for the same reasons.
How to Set Up an Online Store Step #6: Set Up Your SSL Certificate
The difference between going to a website that’s “http” and “https” is an SSL certificate and is required for accepting payments online and being PCI compliant (Every ecommerce store that processes, stores, or transmits credit card data is required to be PCI compliant). With it enabled, everything between your customers’ browsers and your website is being encrypted with an SSL certificate including login credentials, credit card information, and more which adds an extra layer of security and privacy. Search engines like Google also prioritize websites with SSL certificates enabled, so that’s another major reason to ensure yours is up and running on your own site.
Some hosted ecommerce platforms automatically include SSL certificates, others will require you to manually add one. Shopify, for example, automatically provides SSL certificates for your store once your custom domain has been properly added and so does BigCommerce but if you’re self-hosting your store with WordPress/WooCommerce, you’ll have to purchase an SSL certificate from somewhere — typically, from your hosting provider or domain register.
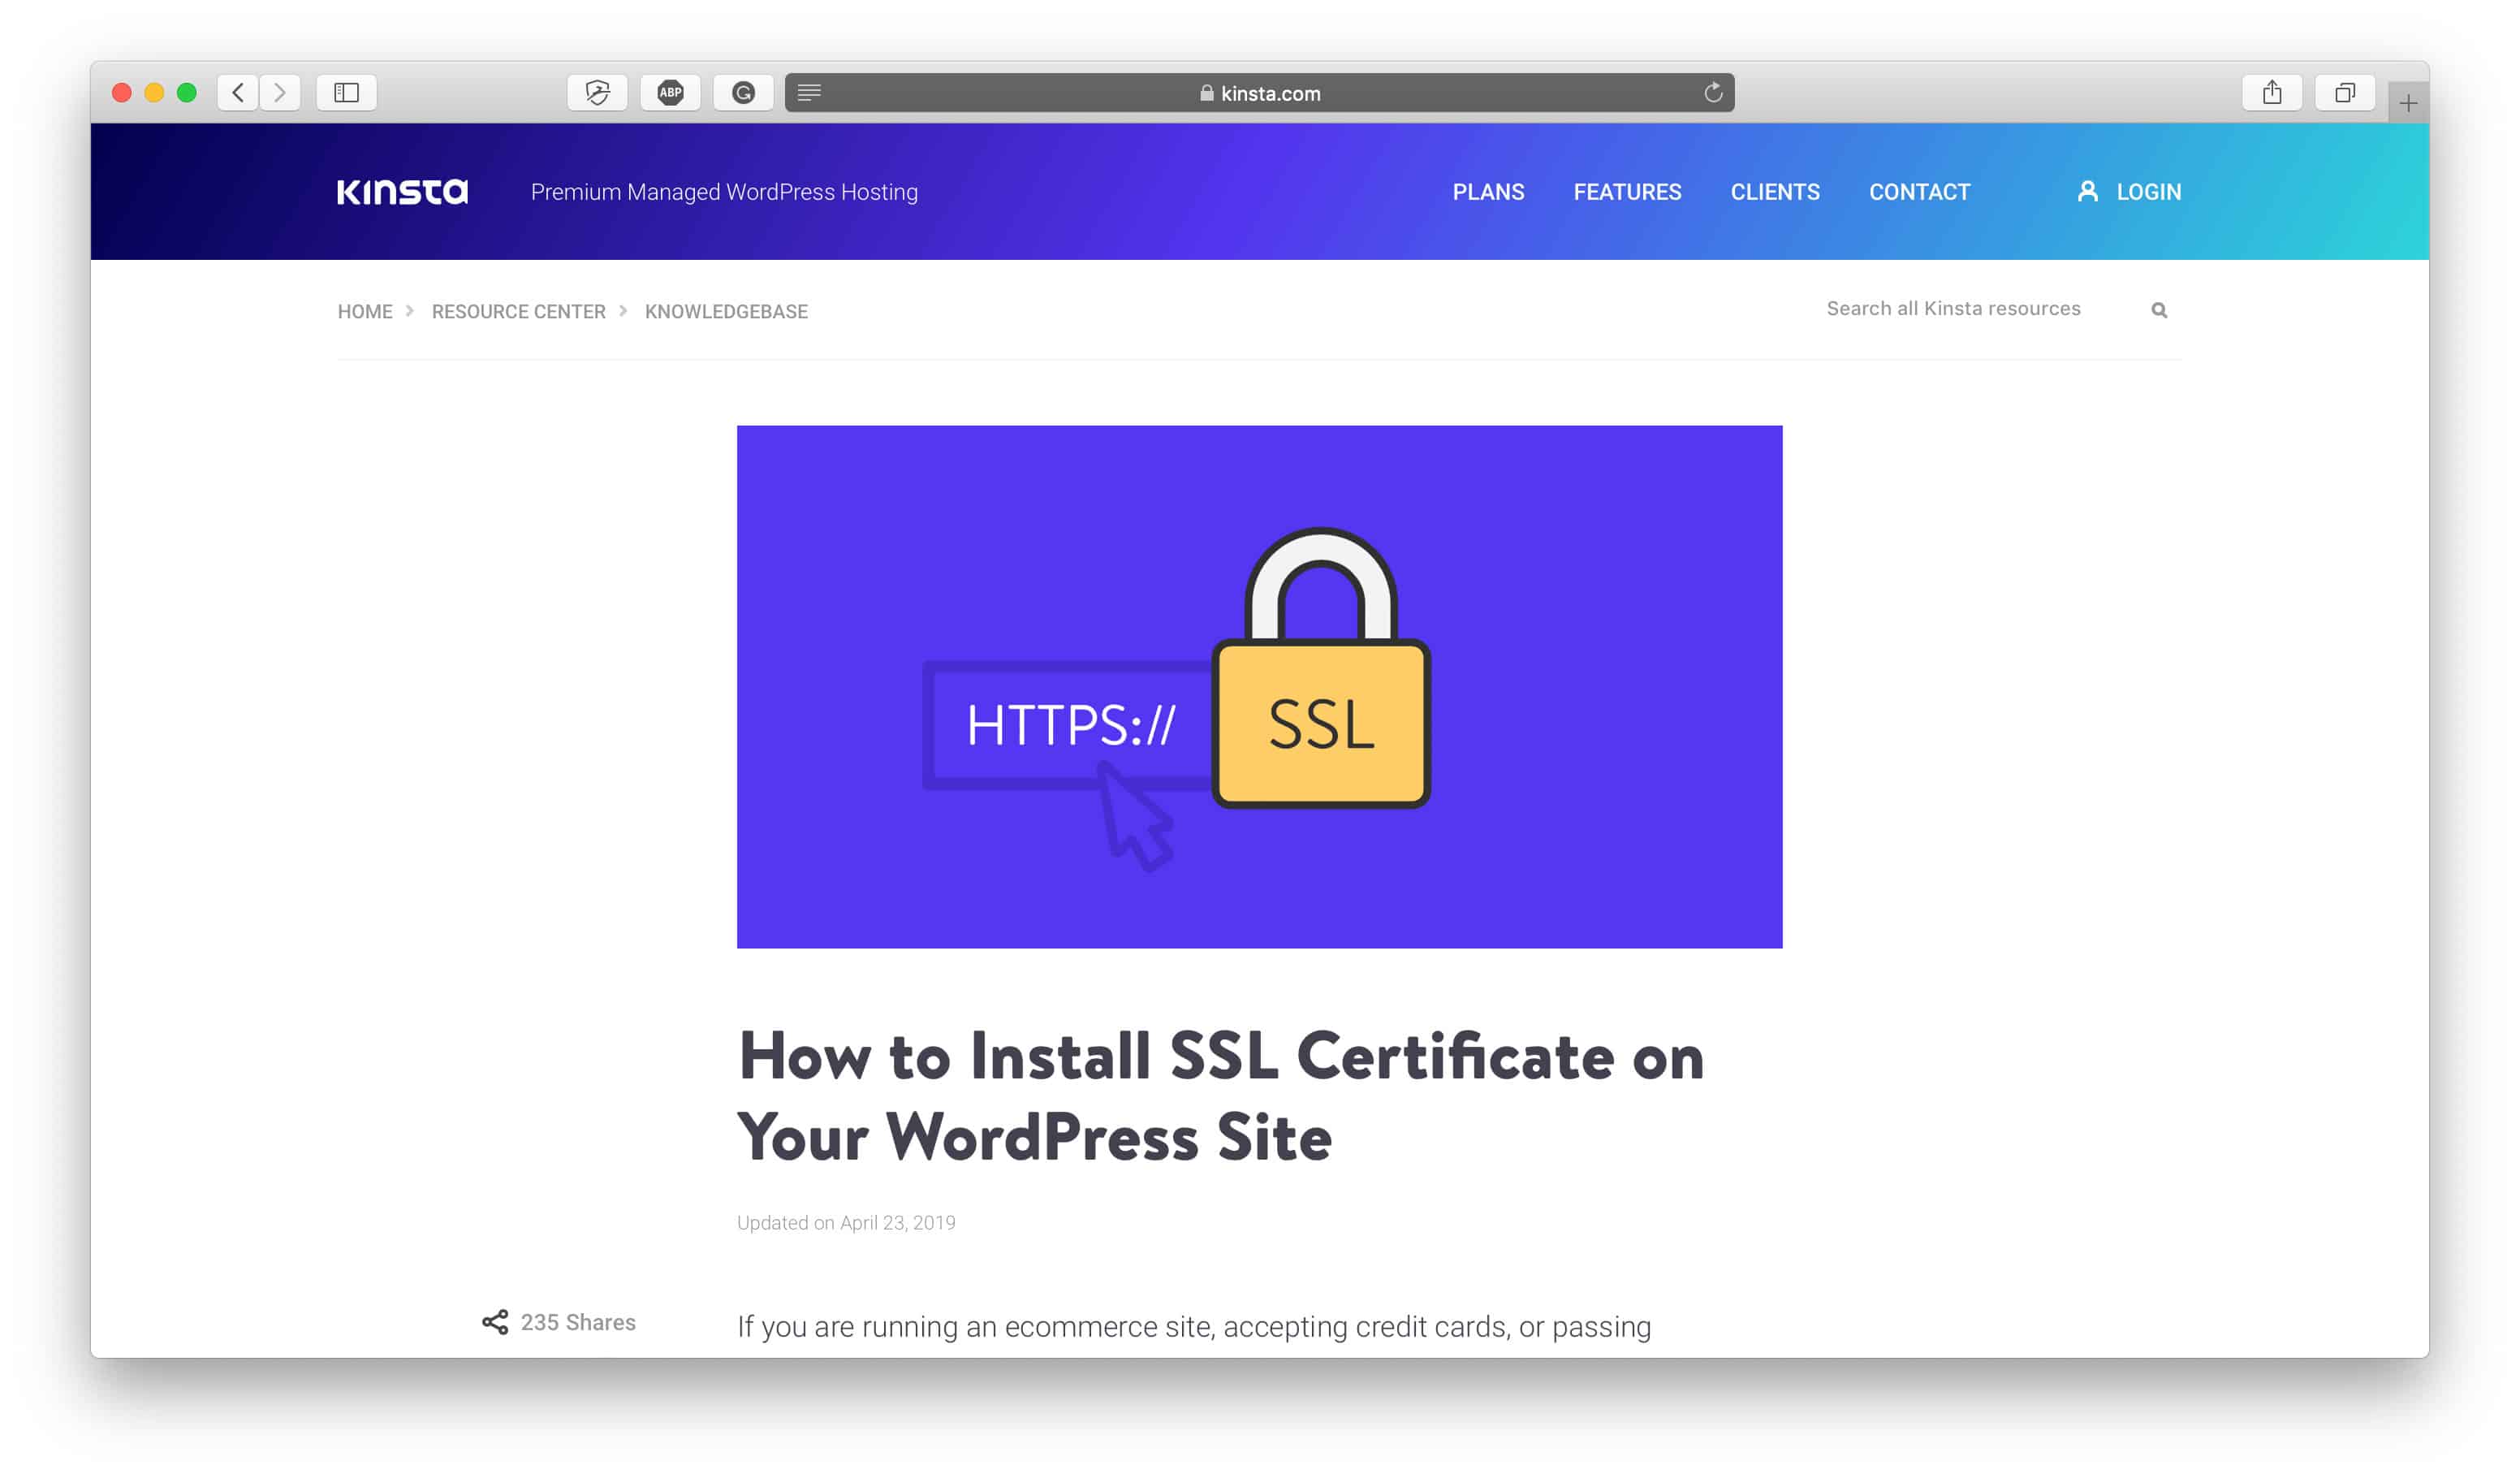
Hosts like Kinsta (Kinsta Review) offer SSL certificates for WordPress sites and since they’re one of the top hosting providers in the industry — check out our Kinsta Review to learn why — we recommend checking out their documentation to learn how to install an SSL certificate on your WordPress site. Alternatively, WPX Hosting is another reputable and fast host that also provides SSL certificates for self-hosted WordPress sites. Alternatively, you can always purchase a SSL certificate from companies like Namecheap and have your host install it on your site.
Whether you’re using a hosted ecommerce platform like Shopify or BigCommerce or a self-hosted option like WordPress, just double check that your SSL certificate is installed (and installed correctly) so you have all your bases covered and your PCI compliant.
How to Set Up an Online Store Step #7: Set Up Your Google Analytics Property
Part of operating a successful business long term comes down to tracking, reviewing, and analyzing performance indicators, data, and metrics and one of the most trusted tools to use to measure all of these things for your online store is Google Analytics.
It’s never too early to set up Google Analytics for your own store so put it at the top of your list as soon as you have your own domain. In fact, tracking all your data from the very beginning will give you valuable insights into your store’s growth over time which many entrepreneurs miss out on because they don’t implement Google Analytics early enough. Having a wealth of data accumulated in Google Analytics is also important if you ever plan to sell your online store or bid for funding as it will be one of the most important parts of your business potential buyers or investors will want to review.
With Google Analytics, you’ll be able to see where your customers are arriving from (hint: that means you should focus on those areas more!), which products are the most popular, the demographics of your visitors, which pages are the most visited, and so much more.
To get set up, head over to Google Analytics and login with a Gmail or G Suite account and then click on “Admin” in the bottom left-hand corner, next to the cog icon. In the “Account” column, create an account under which to place the property (or select an existing account if you already have one) and then under the “Property” column, click “Create new property”. Fill out the rest of the data required including the name of the property (which is only visible to you), the website URL, time zone, etc.
Next, depending on which ecommerce platform you use, connect the Google Analytics property to your store. For most platforms, you’ll simply have to paste the tracking ID into the window of your settings on that platform. For more information on how to connect Google Analytics to Shopify stores click here, to connect Google Analytics to BigCommerce stores click here, and to connect Google Analytics to WooCommerce stores click here.
Finally, enable ecommerce settings by going to “Admin” again (the bottom left-hand corner with the cog icon), then by clicking “View Settings” under the “View” column. Choose the “Ecommerce Settings” tab on the left-hand side to access the ecommerce settings section and toggle the “Enable Ecommerce” button to “On”, then click “Next Step”, then “Submit”.
Now, you’ll have a fully functional Google Analytics account that tracks your store’s activity so you can track your store’s data and metrics as it grows.
How to Set Up an Online Store Step #8: Set Up Google Search Console & Bing Webmaster Tools
Google Search Console and Bing Webmaster Tools are free services that help you evaluate and improve your site’s performance in search. With the help of these tools, you can monitor aspects of your site such as your performance in search engines, your top-performing pages, any page errors, and the top keywords your store is ranking for. In addition, it also creates a communication channel for Google and Bing to contact you in case there are issues with your site or if you’ve been blacklisted for some reason.
To get set up with Google, head over to Google Search Console and log in with a Gmail account. Then, click ”Add a property” under the search drop-down and enter your store’s URL. You’ll then have to verify your store (instructions for Shopify and WooCommerce here) and upload your store’s sitemap (instructions for Shopify and WooCommerce here).
For Bing, go to Bing Webmaster Tools and sign up with your Outlook, Gmail or Facebook account. To add your website, go to “My Sites”, enter your store’s URL and click “Add.” Next, add your store’s sitemap (find it the same way as for Google Search Console) and then follow the verification instructions to verify your ownership. There are three options but we recommend choosing the one that requires copying and pasting a meta tag into your webpage (more information on how to do that for Shopify and WooCommerce here).
How to Set Up an Online Store Step #9: Set Up Your Uptime Monitoring
If your website isn’t up and running properly then you won’t be earning any revenue. Keep tabs on whether your website is up or down by setting up an uptime monitoring service that will check your site regularly to make sure everything is business as usual and in the event that it’s not, it will notify you instantly.
We use the service UpDown.io to monitor our website, and it pings our site every minute or so (you have the option to have it check your website down to every 15 seconds) to make sure it’s alive and well and if it’s not, we have it integrated to our Slack channels to notify us (you can even get it to email you or text you instead).
It’s a very inexpensive service and considering your website is quite literally the hub of your business online, it’s one of the most worthwhile investments you can make for the overall wellbeing of your site. Especially if you’re self-hosting your store with WordPress/WooCommerce we’d recommend it as an essential service to sign up for because there’s more of a chance that your website could go down, but even if you’re using a hosted platform like Shopify or BigCommerce it’s a useful safety net to have just for peace of mind.
How to Set Up an Online Store Step #10: Set Up Your Customer Service Support Inbox
In addition to setting up your business email and your marketing and transactional emails, the next order of business in terms of email-related tasks for your business is to set up your customer support inbox. This email inbox will be where you handle all customer queries and it will be the main port of contact between you and your audience.
The email addresses you created with G Suite — like your info@yourdomain.com email or shipping@yourdomain.com email — will be directed to your customer support inbox so you and your team can answer them easily and efficiently. We recommend using a service other than G Suite to handle your customer support emails because it will enable you to work with a team, whether it’s employees or virtual assistants, and it will help you separate your customer support tickets from other business-related emails you’ll be receiving like ones from your suppliers or partners.
To open up a customer support inbox we recommend Help Scout or Georgias:
- Help Scout: They’re a customer service inbox that just works. They’re easy to use but offer sophisticated features and useful integrations so you can get the job done well. One of their best features is “crash avoidance” which prevents two team members from responding to the same customer support ticket at the same time which is ideal if you’re working with a large team and you can even create multiple inboxes within your one dashboard so you can field communications for emails coming in from more than one domain. Help Scout also offers a live chat widget so you can instant-message your website visitors and they’re also able to connect with some social platforms via a Zapier integration.
- Gorgias: They’re a customer support helpdesk specifically designed for Shopify stores, so if you’re on Shopify they’re a great option to check out. They integrate with many other tools and services like Slack, Klaviyo, MailChimp, Gmail, and more plus they offer live chat and they integrate with Facebook Comments, Facebook Messenger and Instagram so not only can you handle the customer emails that come in to your inbox but you can respond to your audience on your social channels as well. This makes it super versatile and a complete command center that helps streamline the customer service process.
How to Set Up an Online Store Step #11: Set Up Your Bookkeeping Process
You’ve set up a business so now you need to keep track of your receipts so you can expense them properly and keep proper records. One of the best bookkeeping tools ecommerce merchants can use is Shoeboxed. It’s a receipt management tool which you can use to store and keep track of your business receipts online. We find this to be particularly useful because a lot of the tools, services, and expenses we pay for our business are all online, so instead of organizing and storing receipts physically, we’re able to do it digitally which saves us time and hassle. If you do, however, have physical receipts for your store, you can even upload images of them so you don’t have to hang on to them or keep track of them while you’re on the go.
Here’s a great hack for keeping track of your digital business receipts: Use the exclusive accounting email address that you created earlier (accounting@yourbusiness.com) to set up a mailbox rule that automatically forward any emails you receive to your accounting email address directly to your Shoeboxed email address. Then, every time you sign up for a service online use your accounting email address, the receipts will automatically be forwarded to your Shoeboxed account so you don’t even have to think about it. For more bookkeeping tips, check out our Small Business Accounting & Bookkeeping article.
If or when you get audited, you can then simply give access to your Shoeboxed account and the auditor will be able to view all your receipts in your account. This makes the bookkeeping process so much more efficient and if you set up automated workflows it’ll help you save time daily from managing any bookkeeping-related tasks. Digital receipt management systems are the way of the future so set your business up for success and start using one now.
How to Set Up an Online Store Step #12: Set Up 2-Factor Authentication
2-factor authentication (2FA) is an essential security measure you should be taking to protect your online business and there’s no better time to start than when you’re first setting up your online store. As you’re setting up your online accounts whether it’s your G Suite, your social media channels, your ecommerce platform or anything else important you should also be setting up the 2FA for each account.
It’s important because adds a second level of authentication to any account log-in by requiring you to provide a unique, one-time code from an app such as Authy either on your phone or desktop. This way, if a hacker ever does get hold of your username and password, they still won’t be able to login to your accounts without also having access to your unique codes provided by the app.
2FA should, at the very least, be enabled for your email because if a hacker were to ever get your email login credentials, they could just start looking through your old emails to find the other services you’re signed up to and use the password reset feature to get access to your other accounts. In addition to your email, you should also set up 2FA for any other important accounts such as these ones:
- Shopify: Enable it in your profile settings, or check out the Shopify documentation.
- Google/Gmail: You can enable it here, or check out Google’s documentation for more info.
- Apple: You can enable it here, or check out Apple’s documentation for more info.
- Facebook: You can enable it here, or check out Facebook’s blog for more info.
- Twitter: You can enable it here, or check out Twitter’s blog for more info.
- Dropbox: You can enable it here, or check out Dropbox’s documentation for more info.
- Evernote: You can enable it here, or check out Evernote’s blog for more info.
- PayPal: You can read more about it and enable it here.
- Microsoft Accounts: You can enable it here, or check out Microsoft’s documentation for more info.
- LinkedIn: You can enable it here, or check out LinkedIn’s blog for more info.
- WordPress: You can enable it and read more about it here.
How to Set Up an Online Store Step #13: Set Up Automated Store Backups
Whether your store is your livelihood or your passion project, protecting it should be your top priority. Part of your store security and protection arsenal should be a backup app that automatically backs up your store every day so you can revert your store back to what it was yesterday in the event that any updates or unwanted changes are made to it.
Here are some instances where having a backup of your store to revert back to is valuable:
- When you’re editing or modifying your theme’s code yourself and make unwanted and irreversible changes.
- If you install an app that conflicts with other areas of your store and data is altered or completely wiped.
- In the event that you have a disgruntled employee make malicious or unauthorized changes to your store.
- If you hire freelancers or contractors to work on your store that have permission to edit and make changes on the backend of things.
- If you run multiple stores online and are constantly making time-consuming changes and updates to each store.
- If you accidentally make a mistake like clicking the wrong button, not saving changes properly, removing the wrong code or even deleting an entire group or collection of items whether it’s to do with your theme, product listings, webpages, blog or your entire store.
It’s never too early to put the best security practices in place for your online store so get it set up for your store sooner rather than later. There are different options to consider depending on the ecommerce platform your store is hosted on:
- Rewind for Shopify Stores: With the Rewind app you can quite literally rewind your store to a specific date and time to recover any information that may have been lost, deleted or changed. Rewind recognizes how agonizing it can be for any kind of data or information to be deleted, whether it’s product listings, blog posts, images, themes, etc. so their app helps store owners protect their assets and their livelihood easily and efficiently so no one mistake can cost them their whole store. Rewind also backs up data for QuickBooks, MailChimp, and BigCommerce in addition to Shopify — check out our Rewind Review to learn more.
- VaultPress for WordPress: Made by the creators of WordPress, VaultPress is different from other WordPress site backup providers because it doesn’t just do one big backup at the end of the day which can strain your servers, slow down your site, and impact performance. Instead, it does incremental backups so it basically just looks at what changes were made in the last 24 hours and then it backs up those changes so it takes less time and puts less strain on your servers.
How to Set Up an Online Store Step #14: Set Up a Security Firewall
Last but certainly not least, as part of your checklist to set up your online store, don’t forget to install a firewall on your site. Firewalls are an important component of your site infrastructure because they help protect your site against hackers and bots that may attack your site to either overtake it or take it down. It’s a preventative layer on your site that helps to filter out any bad traffic that could potentially harm your site or impact it in any negative way.
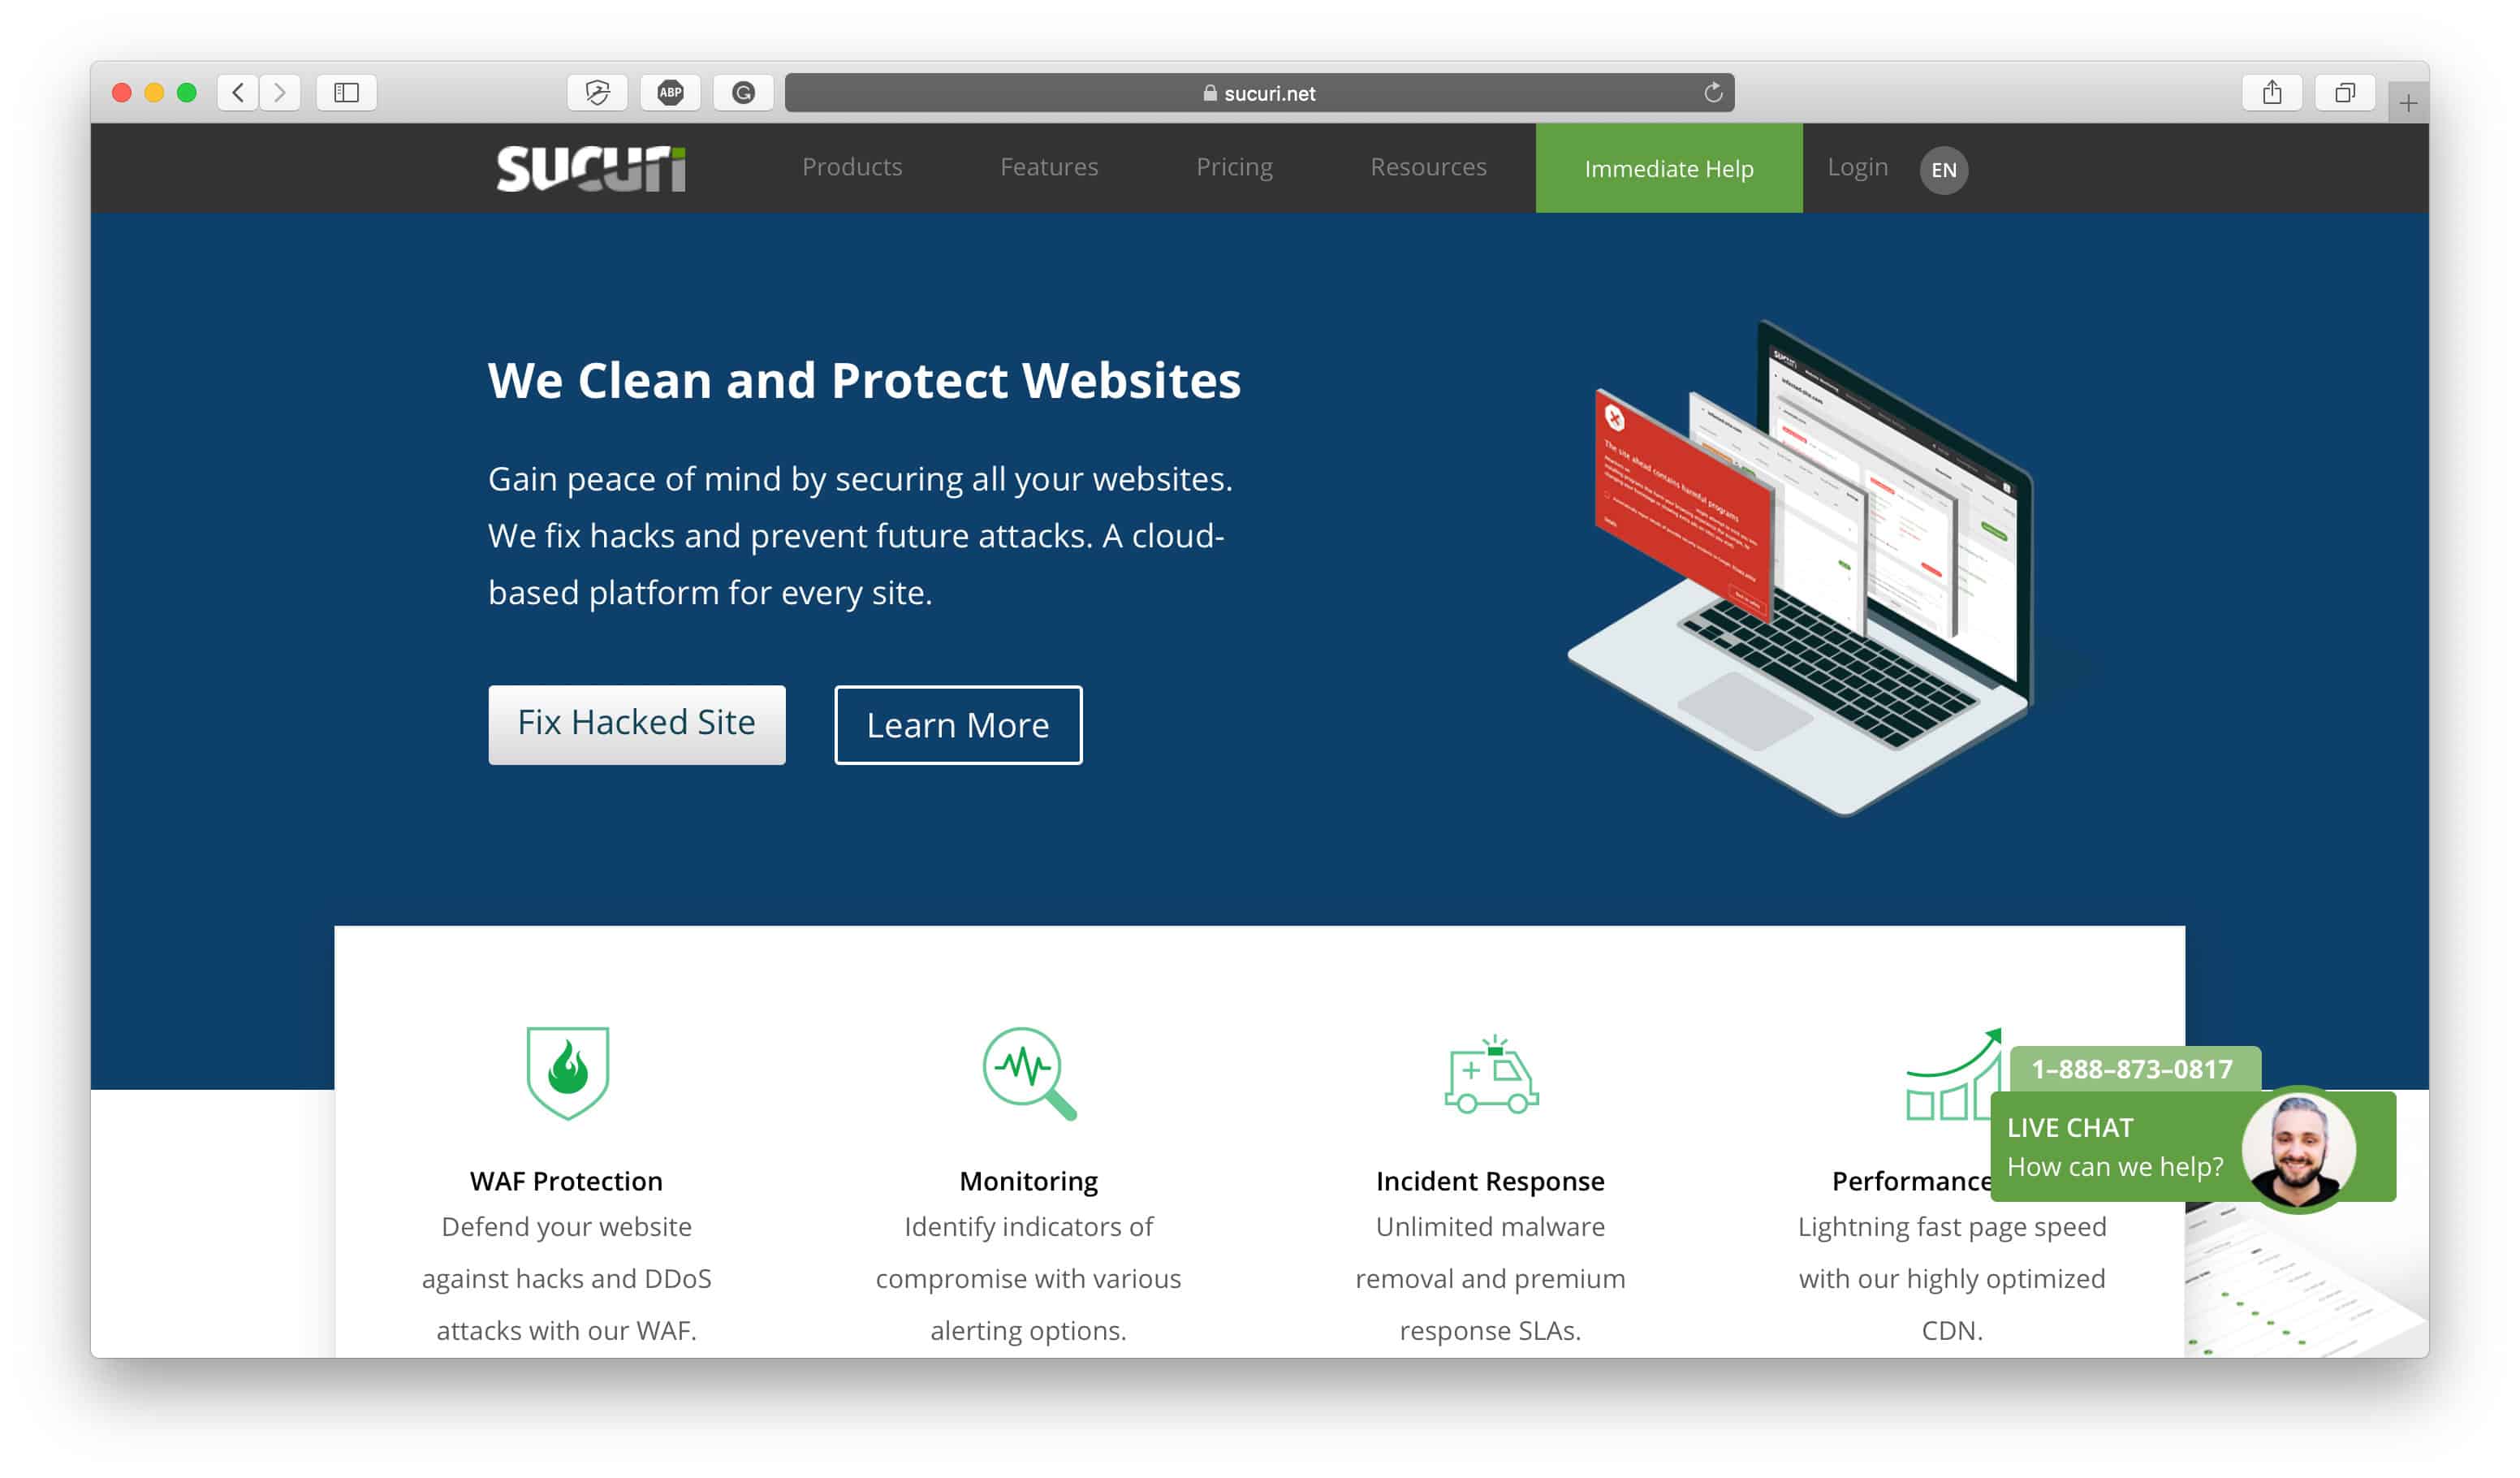
We use the Sucuri firewall to protect our website by filtering out any bad traffic and we’re able to monitor it in our dashboard to see the potentially harmful traffic that it filters out. Depending on whether you’re using a self-hosted or hosted ecommerce platform you might not need this extra layer of security — we recommend that self-hosted websites strongly consider using a firewall like Sucuri — but it’s generally better to have too much security rather than too little. Again, if your website is your livelihood or your passion project the last thing you probably want is for it to be compromised so don’t even take the risk. Protect your assets and your site with a reliable firewall that can stop hacks and attacks.
Conclusion
This list should put you on the right track to set up your new store for success. No matter how experienced you are in the ecommerce industry, these are all standard best practices that every merchant should be implementing on their new ecommerce store so don’t forget to implement them on yours. Once you’ve completed this checklist, head over to our Ecommerce Launch Checklist to take the next steps in your new store set up process.


